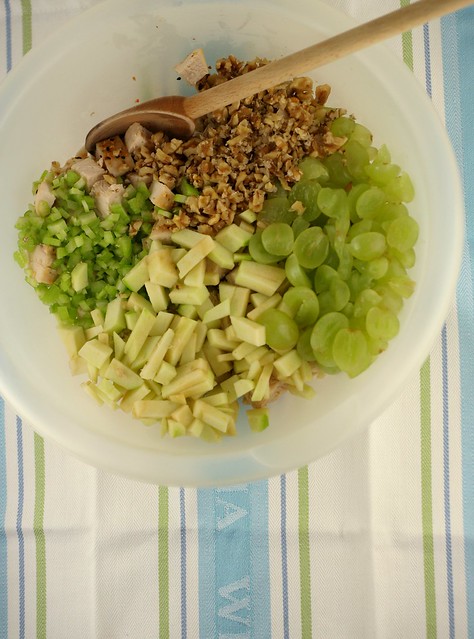
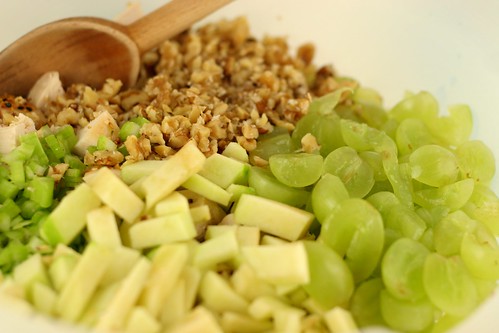
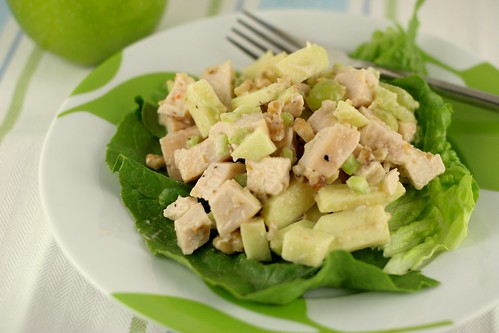
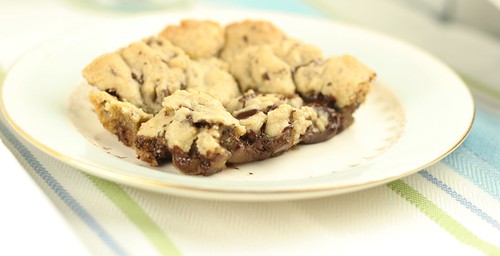
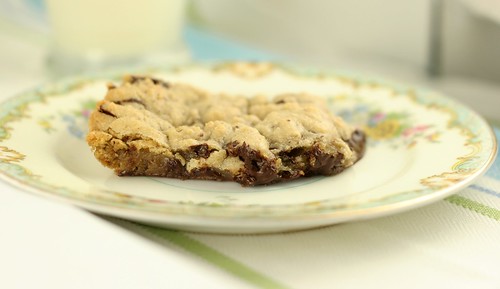
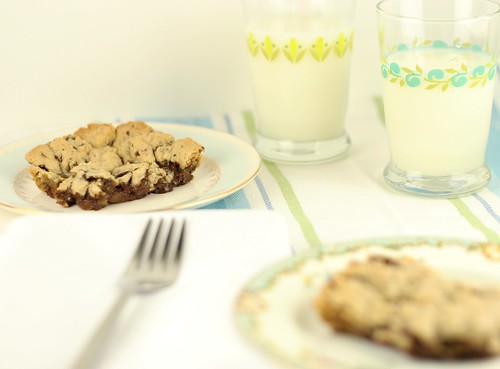
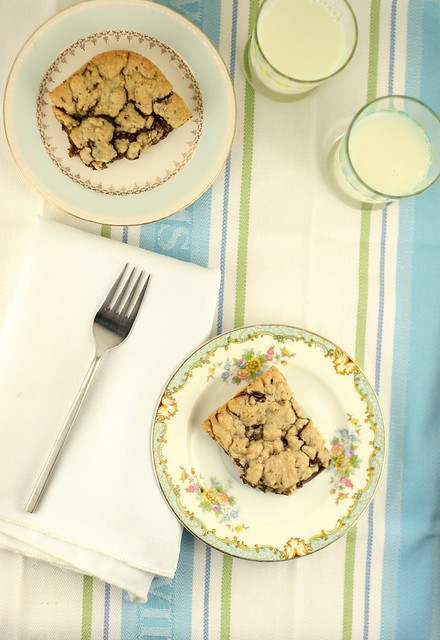
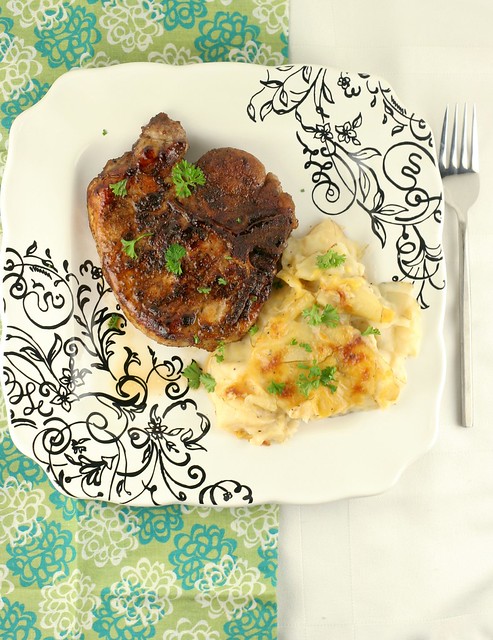
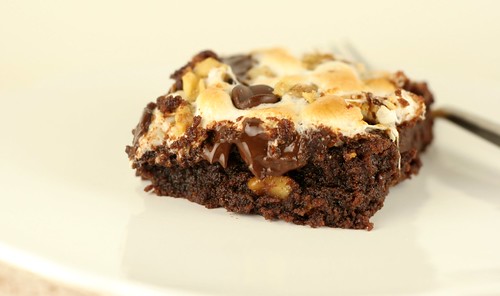
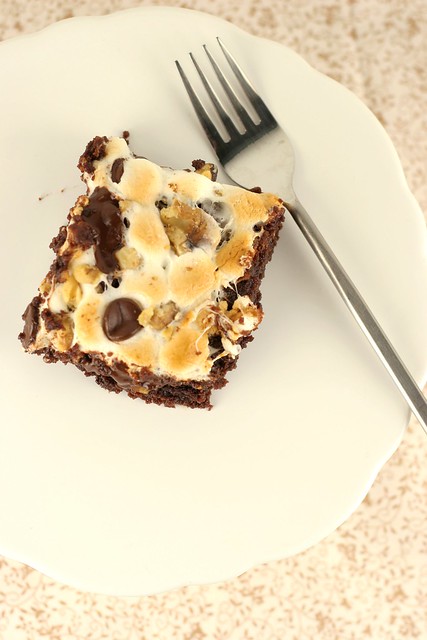
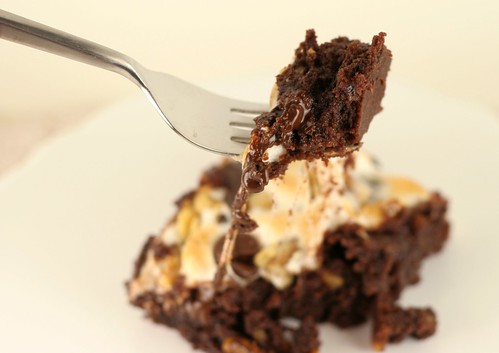
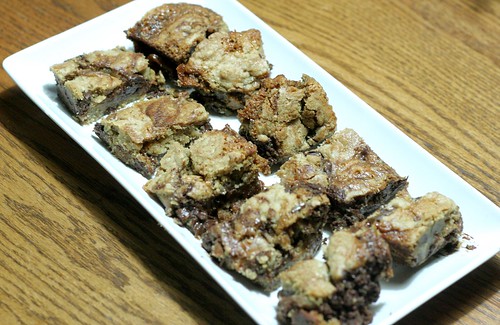
Last week, we watched the Adjustment Bureau and I made these caramel chocolate chip cookie bars. Let me tell you... they are so gooey and messy and delicious. The caramel in the center adds this amazing creamy texture.

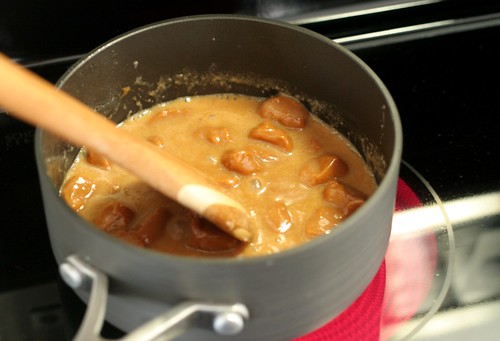
I unwrapped 20 or so milk caramels and melted them in a pot on the stove with a few tablespoons of milk.
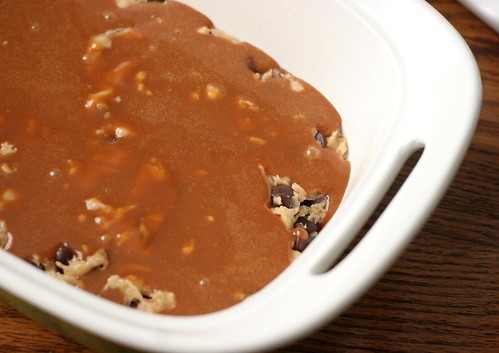
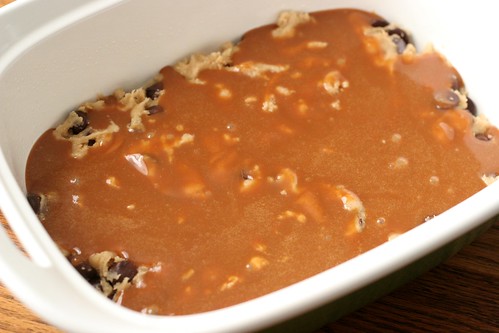
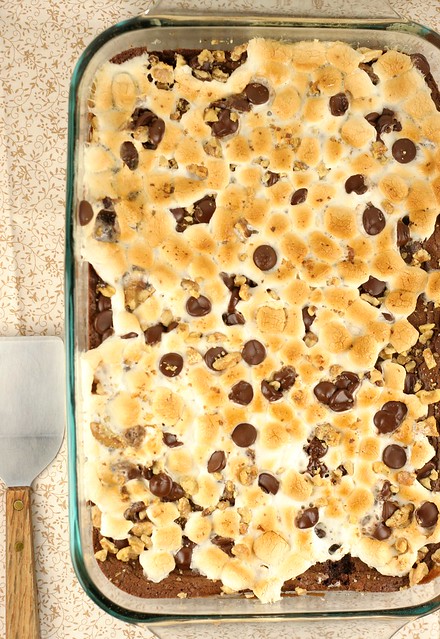
Spread half the cookie dough in a baking dish, then pour the creamy caramel sauce over the dough. The rest of the cookie dough goes on top, then its baked to ooey gooey perfection.

It is best to let these bars cool for at least an hour. I even stuck the pan in the fridge for 30 minutes or so, just to harden them up. They are SO gooey and almost hard to get out of the pan if you try to cut them too soon.
But trust me, it is worth every minute to wait for these bars. They are delicious. Enjoy!
Caramel Chocolate Chip Cookie Bars
Yields: 14 bars
2 1/8 cups all-purpose flour
1/2 teaspoon salt
1/2 teaspoon baking soda
12 tablespoons butter, melted and cooled to room temperature
1 cup light brown sugar
1/2 cup granulated sugar
1 large egg
1 large egg yolk
2 teaspoons vanilla extract
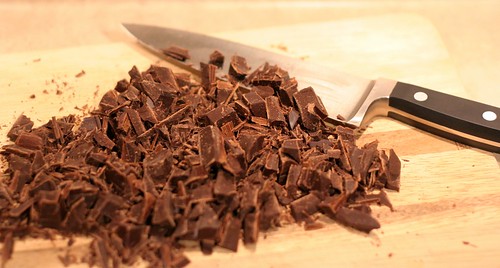
2 cups chocolate chips
10 ounces caramel candy squares (about 20), unwrapped
3 tablespoons milk
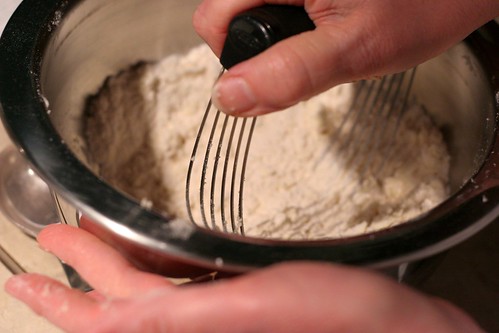
Preheat oven to 325 degrees F. Spray a 2-quart baking pan (which is an 11 X 7 pan-I used a glass Pyrex dish) with nonstick cooking spray and set aside. In a medium bowl, whisk together flour, salt, and baking soda. Set aside.
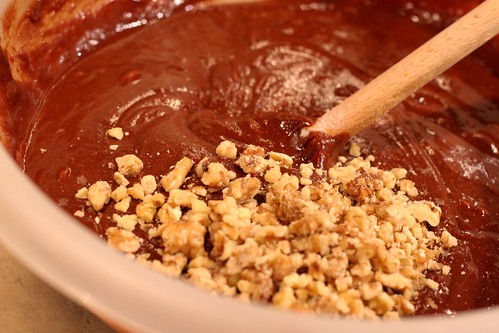
In the bowl of a stand mixer, mix the melted butter and sugars together until combined. Add the egg, egg yolk, and vanilla extract and mix until smooth. Slowly add the dry ingredients and mix on low, just until combined. Gently stir in the chocolate chips.
In a large microwave safe bowl, combine the caramels and milk. Microwave caramels on High until caramels are melted, stirring every 20 seconds. This will take about 2 minutes, depending on your microwave. You can also do this step on the stove top in a small nonstick pan over medium heat, stirring almost constantly.
Divide the cookie dough in half. Press half of the cookie dough into the prepared pan, smoothing the top with the spatula. Pour hot caramel over the cookie dough. Drop spoonfuls of cookie dough over the caramel and spread dough with a spatula until the caramel is covered.
Bake cookie bars for 30 minutes or until the top of the bars are light golden brown and the edges start to pull away from the pan. Cool bars on a wire rack to room temperature. You may want to put the pan in the refrigerator until the bars are easier to cut. Then cut bars into squares and serve.
Recipe adapted from: Two Peas and Their Pod