Showing posts with label home renovation. Show all posts

March 28, 2012

the hutch gets a makeover

It's been awhile since I've posted about our home renovations. Let me tell you, it has been quite an experience. Michael and I bought our home about 8 months ago, 6 months before our wedding. So we had 6 months to try to make it "liveable" before we moved in together.

The most challenging room was the kitchen, for obvious reasons. We had to basically gut the old kitchen and replace the floor, cabinets, countertop, appliances, backsplash, doors, lighting, trim... everything.


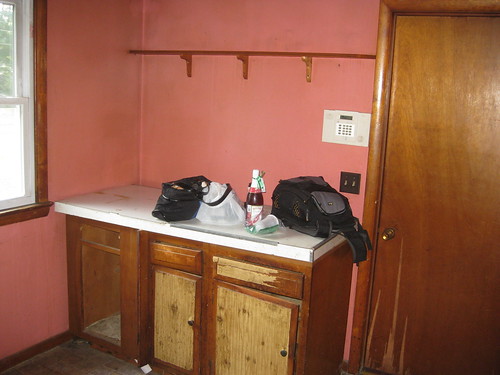
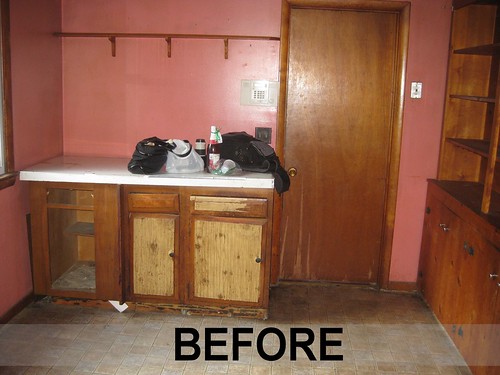
We did manage to salvage the top cabinets (we painted them and replaced the doors) and this hutch. I loved the idea of having more storage, and also being able to display some things on the open shelves. But... it needed a facelift.
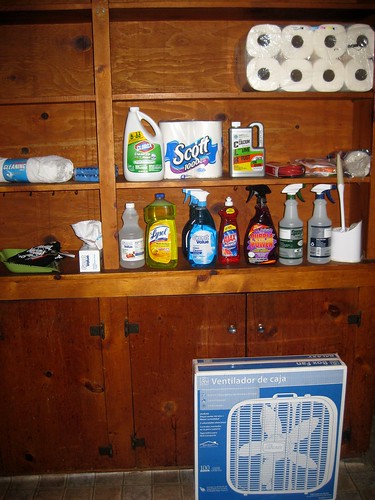


I should mention that during the "cleaning" stage of our renovation, the hutch was not used to display beautiful vases and glasses. It was the home for Lysol and toilet paper. So classy, right?


So the first thing I did was take off the old doors and hardware. Then I cleaned it. I wiped every surface down with an all-purpose cleaner and when it was dry, Michael used an electric sander to get the previous finish off. Then I coated it with 2 coats of oil based primer.

By the way... I say all this like it's the easiest thing on the planet. It was not easy! Nothing about our renovation was easy. I'm sure I hated this hutch most of the time. But what matters is that I loved it in the end, and I get to enjoy it every day.
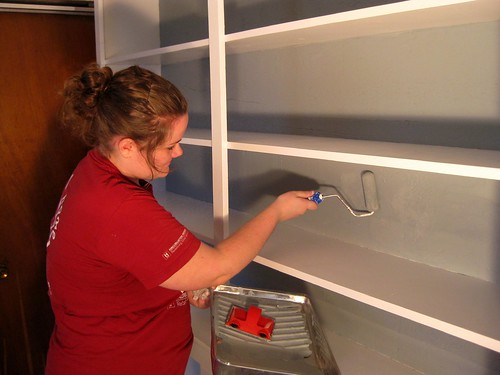


After that, I painted the whole thing in white semi-gloss. I kept thinking about what I wanted to display in the shelves, and most things were white or clear. I thought to make those items pop, I could paint just the back of the hutch a dark grey color.

I used a mini roller and edger to get the job done. It took quite a bit of patience, but I think it was worth it.

I also painted the doors for the storage underneath, and replaced the hinges and knobs. Even that small change made a huge difference.
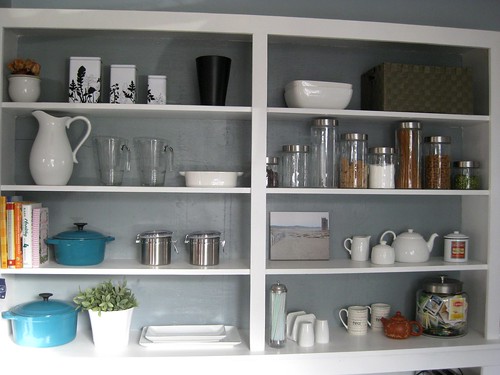


After the paint dried, the fun part was to arrange everything. I thought about this for awhile and planned it out, because I wanted to display things I would really use and have them be in a practical place. In terms of design, it's important to think about balance when you're putting together a large display like this. Notice how the "heaviest" or largest pieces are on both ends, with a few small and medium pieces mixed in the middle. If you put all the large pieces on one side, it would make the whole hutch look unbalanced and strange.
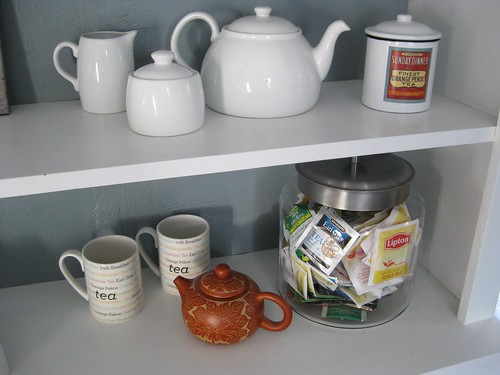


I knew I wanted an area devoted to my favorite beverage on the planet, tea. I was given the white tea set and large glass jar at my bridal shower. I put the glass jar on the end, since it is pretty big. And the white set by itself was a little too bland, so I found that tea jar to bring a pop of color to that arrangement.
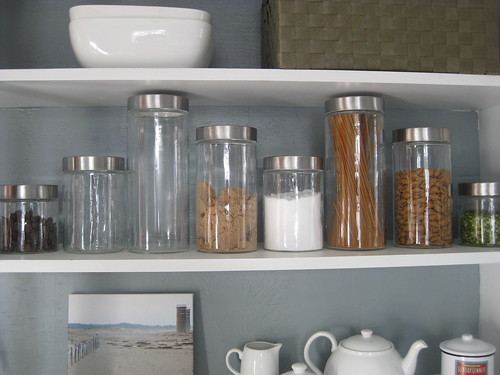


Several people have asked me if I actually use what I keep in these canisters. The answer is yes! This is like an extension of my pantry. I love glass canisters for sugar, pasta, beans and chocolate chips because it keeps them dry. Glass is great because it doesn't retain stains or odors, and is chemical free.

So here is the big BEFORE and AFTER of the hutch:


Not bad, huh? I think it looks so clean and I love having the storage space.

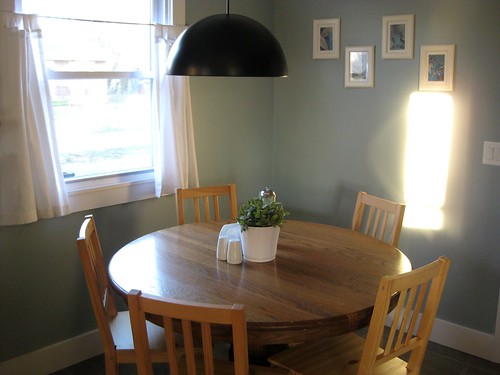
Now for some BEFORE and AFTER shots of that whole side of the kitchen:


It was a huge project, but so completely worth it. I adore my kitchen, and having loved ones over to enjoy it with us. There is nothing I love more than cooking up a storm while friends and family sit at our dining room table, laughing and talking. I can't wait for many more years of memories in this kitchen!

January 11, 2012

our kitchen - 5 months later

Michael and I bought our home about 5 months ago now. It's hard to believe how far we've come with fixing it up in that amount of time. We have spent almost every weekend working, many long nights, so much work... our literal blood, sweat and tears.

We've gutted rooms, ripped up carpeting, refinished hardwood floors, put up drywall, painted and painted some more, installed new cabinets, bought appliances, laid tile, put up trim, and cleaned until our fingers were raw.

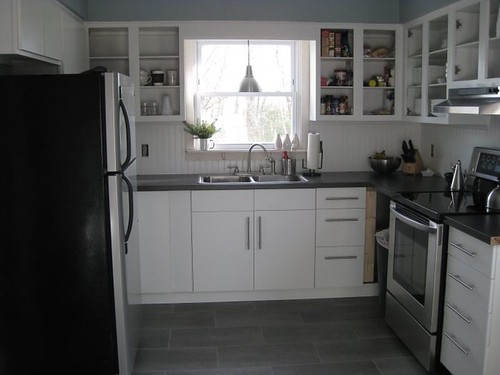
But now we have this beautiful kitchen. It makes me so happy, I can't even tell you. Here is a progress picture I put together:


And here are the pictures larger so you can see:


And the (mostly) finished product....


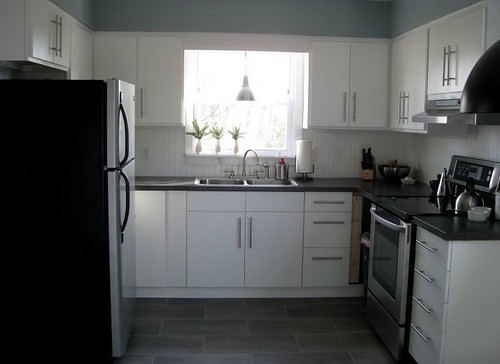
There it is in all its glory. We are so proud of our fresh, modern, clean, white, blue and gray kitchen. It's perfect for us.

I baked for the very first time in our new home on Monday night. So what did I decide to bake for the celebratory occasion? My low-fat chocolate chip banana muffins that I'm totally obsessed with. It was also the first real snowfall of the year. So while the snow was falling slowly outside, I was in our home baking something I love... for people I love. It's what I've always wanted.

September 13, 2011

i'm dreaming of a white kitchen

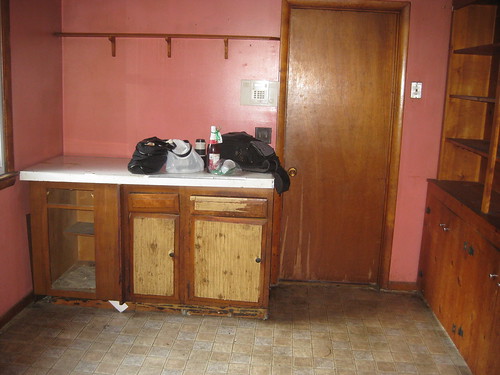
We don't have a pink kitchen anymore!


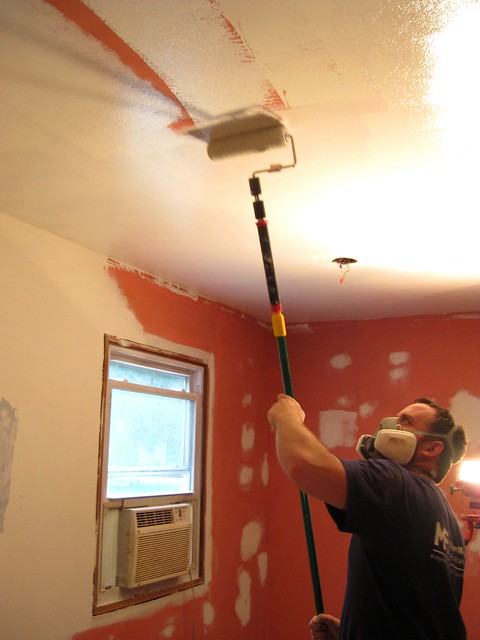
I have been waiting for this moment since our realtor showed us this house 5 months ago. Of course this is just the primer... but it looks so much better than pink walls and a pink ceiling. Can I get an amen?

In other news...


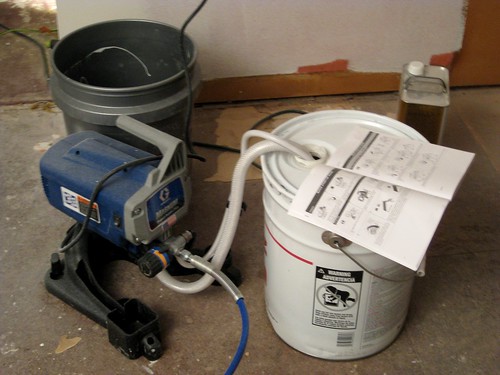
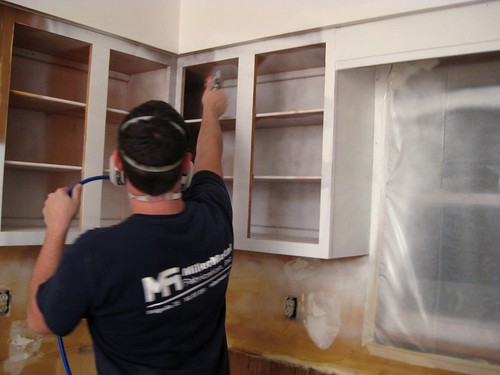
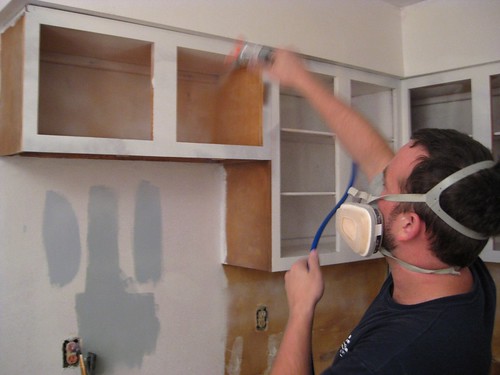
We invested in a paint sprayer! This saved us a ton of time painting our kitchen cabinets. It also gave everything a nice, clean professional finish.


Well, this is just the primer. But since I took this picture we've painted them a bright white semi-gloss that looks fantastic.

I was worried about painting the cabinets, I didn't want them to look crappy. But we did a lot of paint prep by cleaning and sanding them before priming, which made a huge difference in the end result.


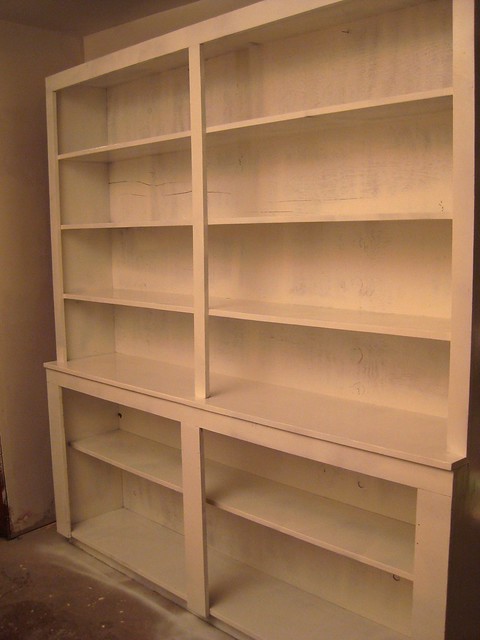
We also primed the hutch! It looks so much better.

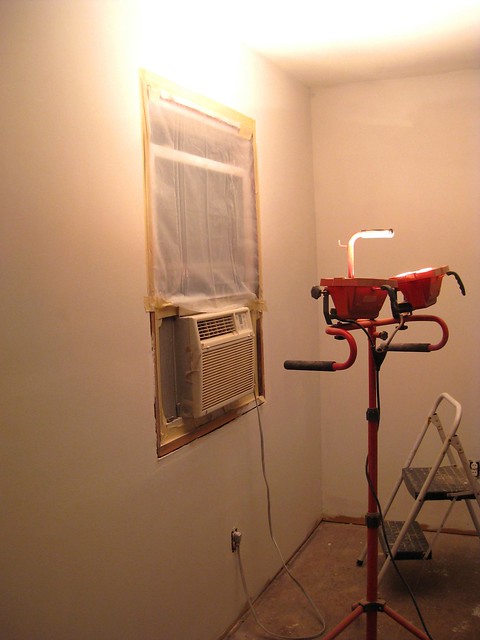
Sorry about the white balance issues with these pictures. The lighting in that kitchen is madness with all the construction lights.

I can't wait to show you the paint color we chose! More kitchen progress coming this week.

August 30, 2011

kitchen progress - week 3

Michael and I ended up taking all of last week off from working on our house, to be with my sister and her precious baby boy. Actually, I sort of forgot we even owned a house. I was in Ashley's hospital room for about 17 hours... I forget to eat, sleep, go to work and everything outside of that hospital.

But now mama and baby are home, safe and sound. Which means it's back to work for Michael and I.


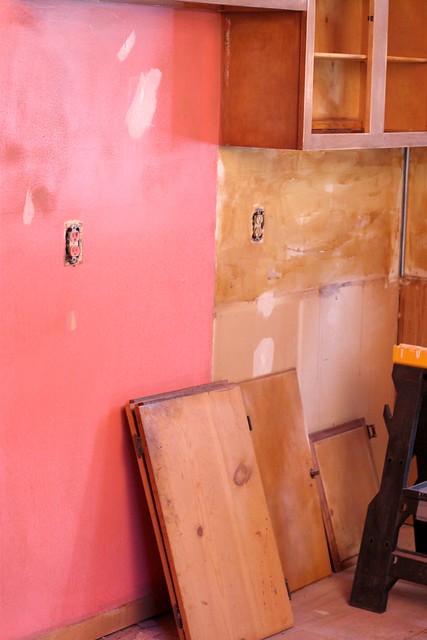
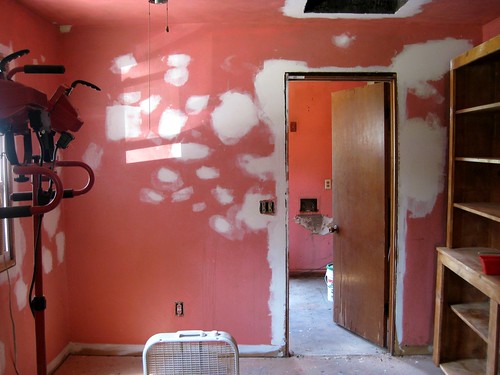
This week we are focusing on more paint prep: spackling, sanding and cleaning.

All the doors are off the top cabinets. We are painting them white and buying new white base cabinets. I can't wait for that!


Someday I will have a refrigerator in that space. And the walls will not be pink. There will also be a backsplash.

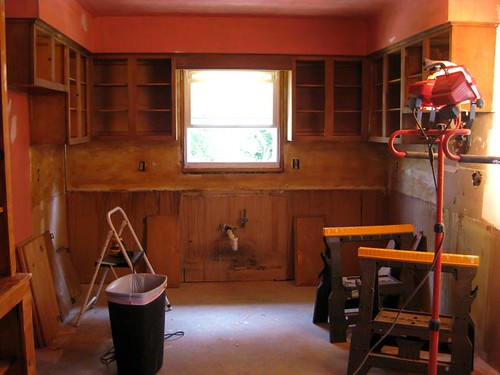
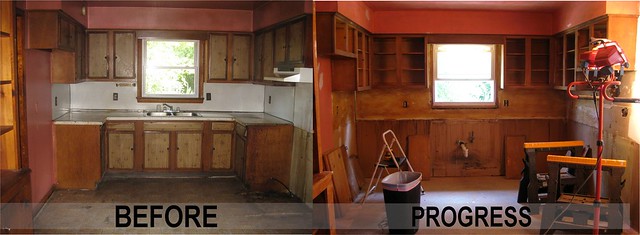
Here are some shots of our kitchen, "before" and "progress" so you can see what we've done these last 3 weeks.


This is the front of our kitchen. It's a U-shape, which I love. The stove/hood/dishwasher will be on the right side, and the refrigerator on the left.

In the above shot, we've done the following:

-Ripped out the base cabinets, countertop, sink, outlet covers, light switch covers, trim and light fixtures
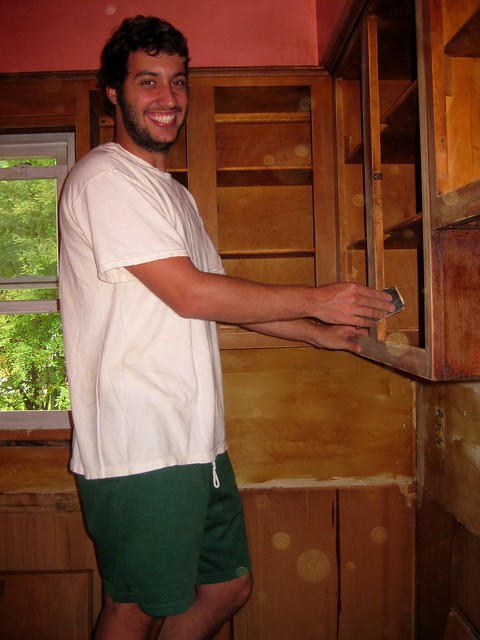
-Took off the doors to the top cabinets, then cleaned and sanded them
-Removed the flooring
-Washed down the walls and ceiling
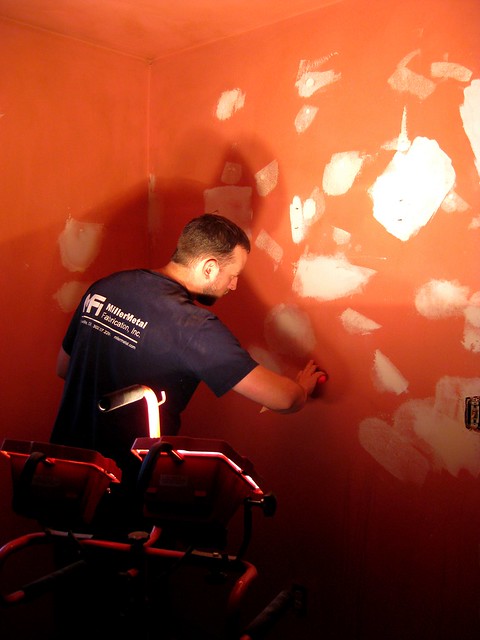
-Sanded the walls and ceiling (not fun)
-Spackled


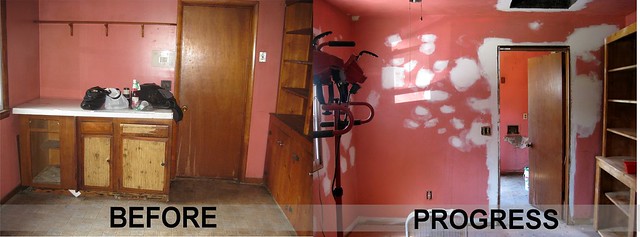
This is the back of our kitchen, and the entrance to the mudroom/laundry room. We took out that cabinet to make room for a dining table and chairs.

In this shot, we've done the following:

-Take out the old cabinet (what was it even for?)
-Removed the trim, shelf, old alarm system, phone jack and flooring
-Washed down the walls and ceiling
-Sanded the walls, ceiling and hutch
-Spackled

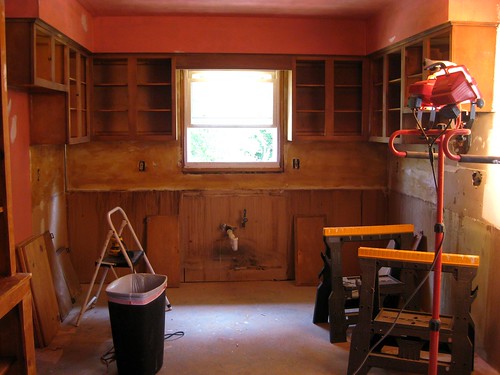
Here are larger shots to help you see the difference:


So there is our current progress!

It's been a lot of work so far, but I know it's going to be so worth it in the end. It already feels and smells better in there. The dirt and grim is removed, and the wood has been sanded down to a new surface.

This week we are focusing on finishing up sanding, wiping down the surfaces... and finally priming and painting!

Have I mentioned I can't wait to get rid of the pink paint?

I can't wait to get rid of the pink paint.

August 18, 2011

home renovation - week 2

Week 1 = Kitchen Demo
During the first week, we focused  on demolition. We tore out the cabinets, backsplash, hood, sink, flooring, countertop, lights, outlet covers, light-switch covers and trim. Then we hauled it to the dump.

Week 2 = Cleaning, Patching, Sanding
This week, we're still focusing on getting the kitchen done. We've been cleaning until our hands were numb. The cabinets, walls, ceiling and hutch all needed to be de-greased and sanitized.


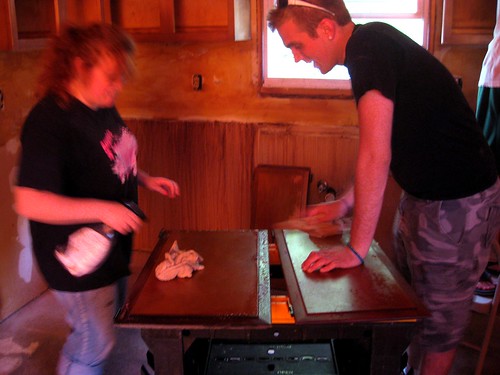
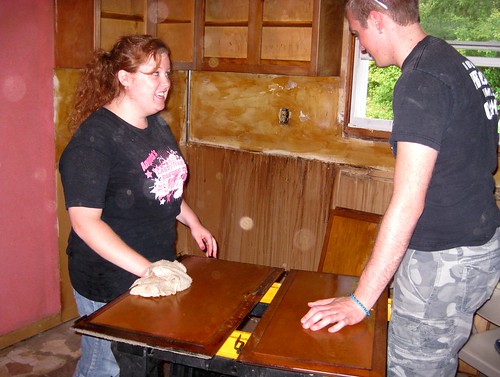
We've had the most amazing friends and family help us. Here is my cousin, Devon, and Michael's cousin, Matt, wiping down the cabinet doors.

After they finished, Devon whipped out the orbital sander and sanded those doors like a pro. We've got some really random talents in our family.


Michael has been the spackle/drywall king this week. And yes, there really are that many holes and dents in the drywall.

Have I told you before that I can't wait to get rid of the pink walls?

I can't wait to get rid of the pink walls.

I will probably tell you again tomorrow.


Our friend Justin is making a re-appearance. He will win the award at the end of this project for most helpful and eager friend. You are a rockstar, homeslice.

Most of us have lost our fingerprints this week from sanding. So. Much. Sanding.

All the surfaces need to be sanded so the paint will stick better. We could have just painted over everything in the beginning, but it wouldn't look as nice and it wouldn't last.

Clean - Patch - Sand - Clean again - Prime - Paint

Hopefully by this weekend we will be priming and painting! Hallelujah!

August 16, 2011

i would like to thank purple power

The previous owners of our house were smokers. They also apparently never cleaned their house.

Sorry, I shouldn't say that. Maybe they were unable to clean, didn't know how to clean, or didn't realize it was so dirty...

But really, most of what needs to be done in the house is CLEANING. Especially in the kitchen, where there is this thick layer of grease basically everywhere.


To save some money on our kitchen remodel, we decided to save the top cabinets and just replace the bottom ones. We removed the bottom cabinets last weekend.

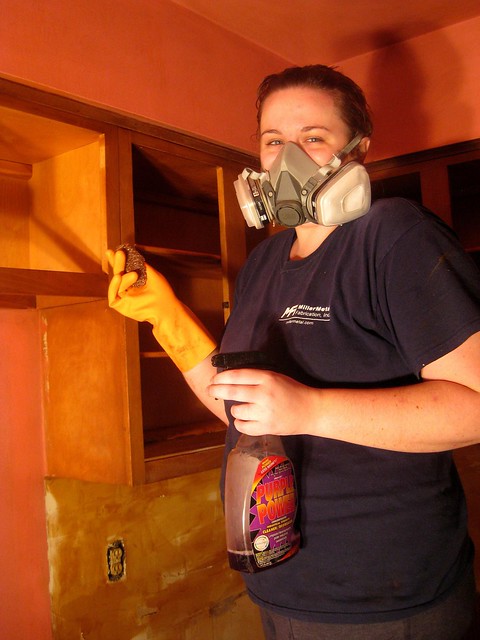
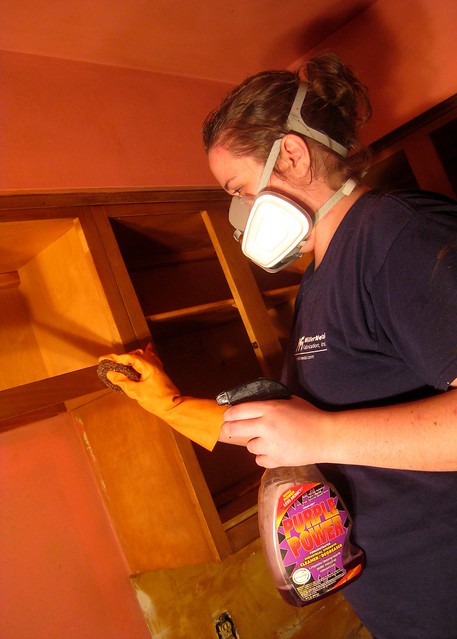
Our dear friend, Justin, helped me take all the doors off the top cabinets. Then I spent TWO HOURS cleaning them. There was so much black grease, we had to buy an industrial strength de-greaser called Purple Power.


I would like to take this time to thank Purple Power for it's cleaning abilities. You are extremely toxic, laden with chemicals, and dangerous for my skin. But you are even more dangerous for stubborn grease on dirty kitchen cabinets. Thank you for allowing me to spray you on, let you sit and then easily wipe you off. I would pay $100 for a bottle of you. I would marry you and have purple babies with you.


Michael's job that night was cleaning the kitchen ceiling. Can you see the before and after in this photo? That brown gunk is smoke residue, from the previous owners smoking in the house.

Also, check out the drywall paper with remnants of block grout. That's where the lovely (not) wall of faux brick used to reside.


You would think residue this thick would come from 20 years of smoking. But we found out this pink color was painted on in 2006... which means this is what happened to the ceiling in 5 short years.

Michael would spray Purple Power on the ceiling, take one swipe and the white rag would be totally black. If I was a smoker, I would quit after experiencing this. If it was this bad on our ceiling, I can't imagine what's going on in their lungs.

Thanks to our love affair with Purple Power, our kitchen is de-greased and smoke residue free! Here are our next steps in the kitchen:

-Sand the walls
-Patch the drywall with mud
-Sand over the patches once mud is dry
-Sand the kitchen cabinets
-Sand the hutch
-Inevitably sand off my finger prints
-Clean all the walls, cabinets and hutch from sanding dust
-Prime with Kilz (which blocks stains and odor)


I can't wait to see a fresh coat of bright white primer in our kitchen. The walls, cabinets and hutch will all be sparkling white!

Now please go out and by some Purple Power. We found it in the auto section of Walmart, and the cleaning aisle of Lowe's. This is not a paid advertisement (I wish it was). We just legit love the stuff.

August 14, 2011

have you ever been to a landfill?

I can summarize this whole weekend in one word: demolition. Tear down, tear apart, tear out... every way you can get a bunch of old, dirty stuff out of a house - we did it. Some family and friends came over to help us, those kind souls. There are no words to thank them. Michael and I couldn't have gotten so much done without you guys!


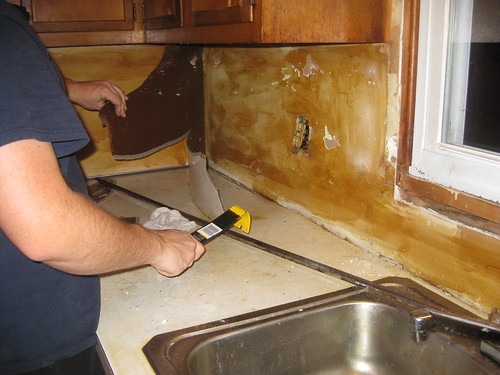
We spent our Friday and Saturday nights ripping out the backsplash, cabinets, countertop, flooring, trim, sink and this horrible faux brick off one of the walls.

The people who lived here before us were obviously not the cleanest people in the world. It seems like everything in the kitchen had this thick layer of grease (and smoke) on it. It was refreshing to get all all the old stuff out, so we can eventually bring the new in.


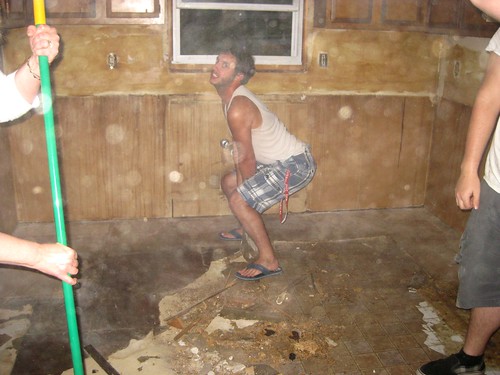
Our hysterical friend Justin was our entertainment for the night. He may be wearing fashionable shorts and flip flops, but he can rip vinyl flooring out like a champion.

Also, it was so dark outside we had no idea how much dust all the demolition was creating. Until I took this picture and the flash revealed a ton of dust particles in the air. So unsafe for our poor friends! Michael and I invested in these awesome respirator masks that you will see put into use later...


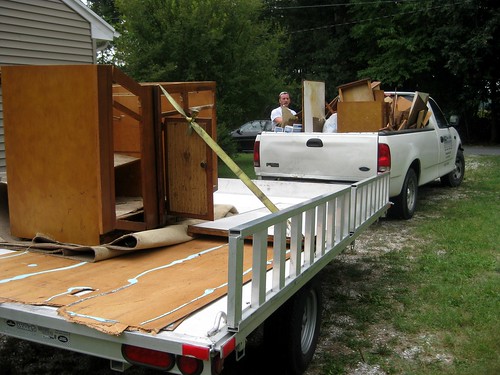
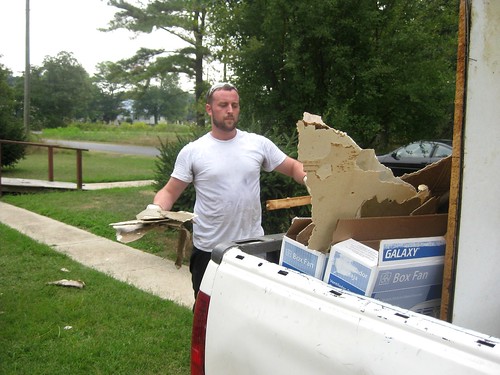
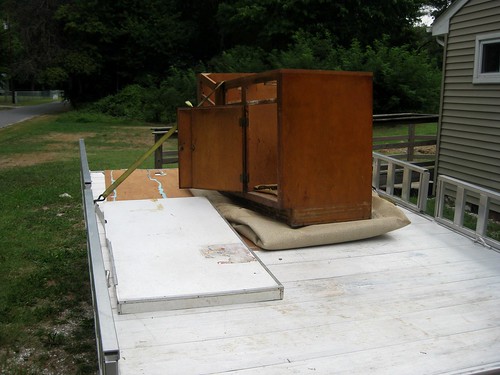
The next day, Michael and I were on our own. We borrowed a truck and trailer from Michael's boss and loaded it up with all the stuff we tore down the night before.


See what the old cabinets and countertop looked like? Not okay.

Also - that's our backyard, up to that row of trees. Yay!


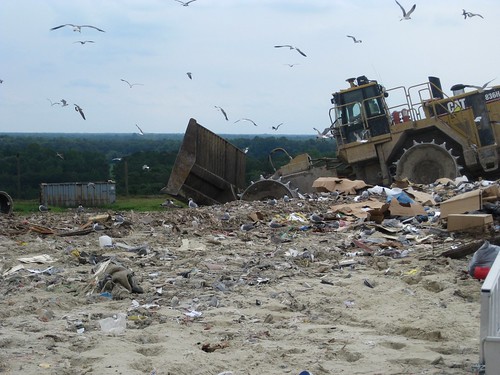
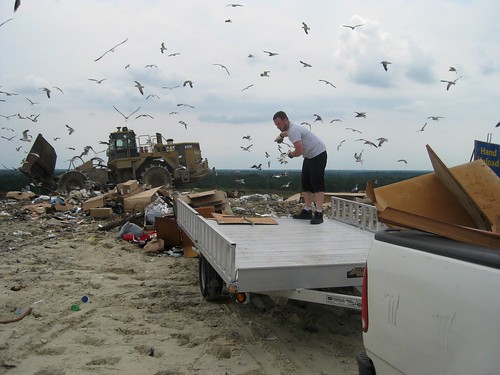
Then we drove to our local landfill, the dump.

Have you ever been to a landfill? I guess I didn't really know what to expect... but what I saw made me feel like I was just transported to another planet.


It was basically a huge HUGE huge pile of trash. These scary looking machines were pushing all the trash around to spread it out.

It was... gross. To say the least.


And I'm not a tree-hugger 'save the planet' kind of person. I try not to be too extreme in any area of my life, but I realized we should have recycled all this old wood and flooring instead of dumping it on this ever-growing pile of trash. It was honestly depressing to look around and see that we're just burying this stuff into the ground.

The smell was unbearable. And the BIRDS. Oh the birds were everywhere.

It was not pleasant.

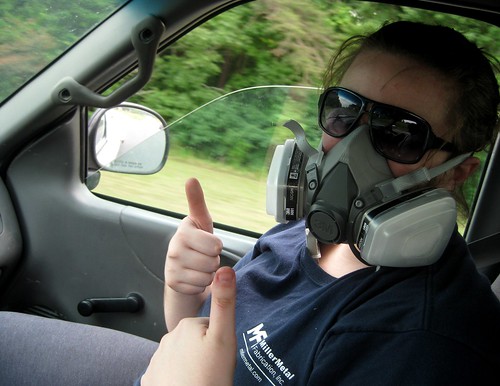
So where was I while Michael was unloading everything?


Sitting in the truck wearing an obnoxious respirator mask.

It was a very interesting experience. I'm SO glad we got all that crap out of our house, and had a place to take it that is far away.


But I hope I never have to see this again.