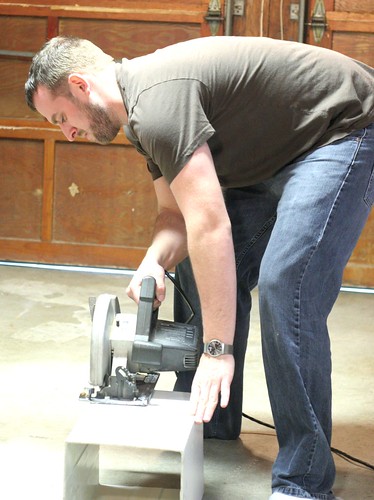
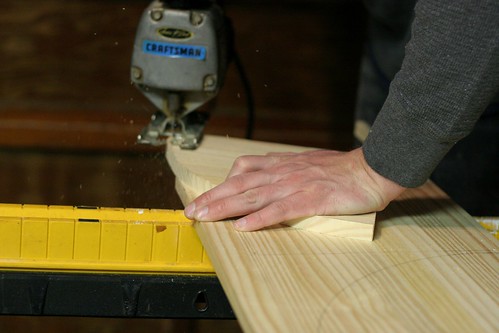
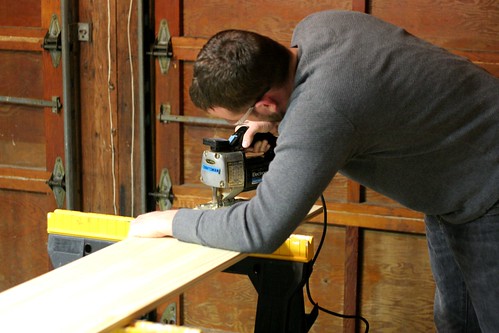
So there has been a lot of sawing and drilling going on lately. Also a lot of bicep muscles and forearm veins. It's more than my little heart can handle.
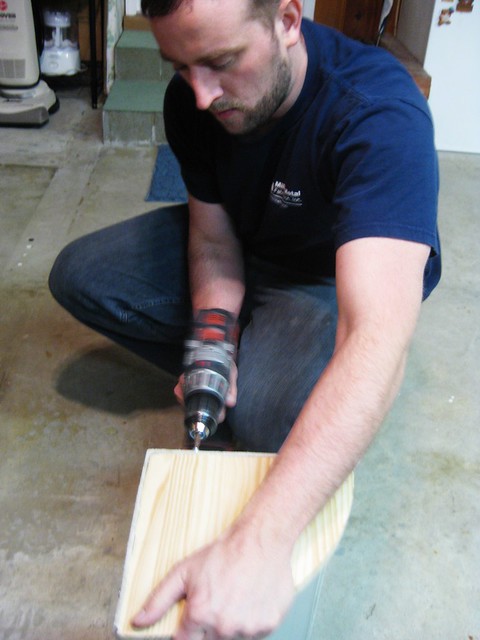
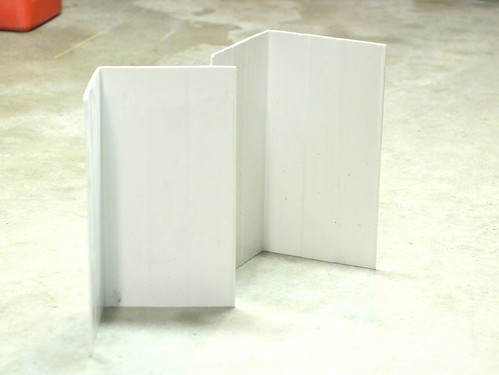
He attached the top and bottom of the lights to the base.
Can I just say - I'm so glad he knows how to do this stuff. He had to pre-drill holes into the wood and everything. I would have used the hammer and nail approach, unsuccessfully.
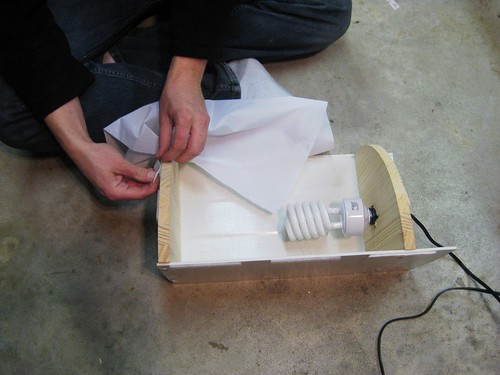
So
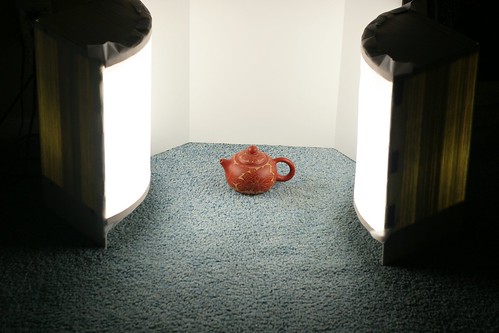
The set-up looks like this. But now I have pretty fabric covering up the awesome 80's baby blue carpet.
They work beautifully. It is very helpful to have them. Thank you, Michael! You are the best, I mean it. I am so thankful for you.
To celebrate the completion of our 3 week long project (we are busy), I made a pudding torte very similar to the pumpkin pudding torte I made this past fall. I wanted to show you the difference between the lighting in my kitchen and the lighting with my new towers.
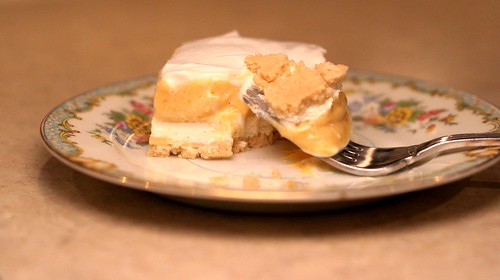
Indoor lights.
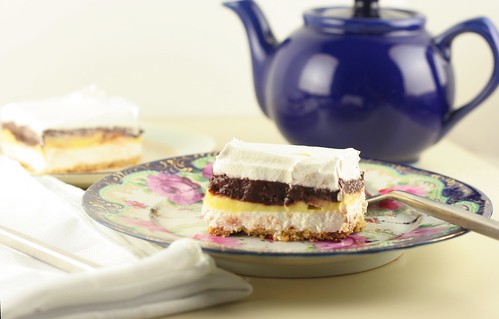
Light towers.
Awesome, huh? So much more clear, bright, crisp. It even looks more appealing to eat!
So with that said - I love this pudding torte. My Mom has always made it for us growing up and called it "Italian Wedding Torte" so that name lives on in my family.
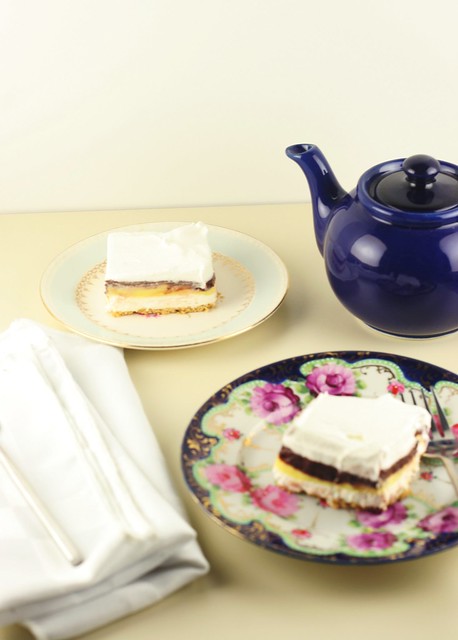
It's creamy with a buttery crust, and also pretty low in calories. It's a win/win situation with this dessert. And you know how much I love win/win situations. Totally ideal.
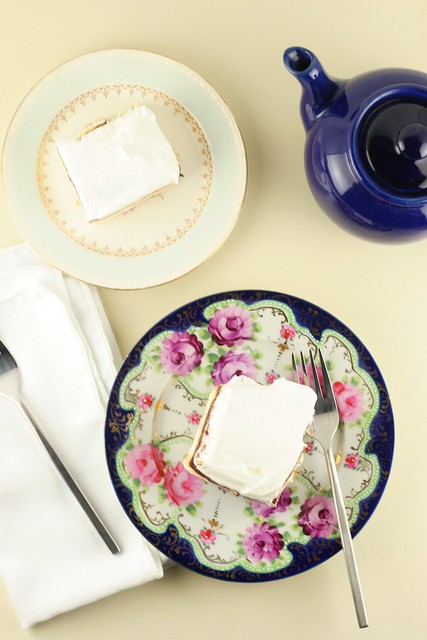
I can't wait to share more clear, bright pictures of my food with you. This makes me SO happy!
Here's the recipe!
Chocolate Pudding Torte
print this recipe
1 1/2 cups all purpose flour
1 stick butter, melted
1 8-oz block light cream cheese, softened
1 16-oz container of light cool whip, thawed
1 tablespoon sugar
1 large package of sugar free jello instant vanilla pudding
1 large package of sugar free jello instant chocolate pudding
4 cups nonfat milk
Preheat oven to 350 degrees. Mix together flour and butter in a small bowl with your hands until crumbly. Press into the bottom of a 13x9 pan, preferably glass. Bake at 350 degrees for 20-25 minutes or until golden brown. Put to the side to cool.
To make the cream cheese layer: use a hand mixer to cream softened cream cheese and 1/2 of the container of cool whip. Sweeten it with 1 tablespoon of sugar. Whip until fluffy. Once the crust is completely cooled, dot the cream cheese mixture around the crust. Use a small metal spatula to carefully spread the mixture around the crust. Keep working with it until it's all spread.
For the pudding layers: start with vanilla. You can use the same bowl you used for the cream cheese mixture. Empty the package of vanilla pudding into the bowl and pour in 2 cups of milk. Beat with a hand mixer until combined, about 3 minutes. Evenly spread the vanilla pudding over cream cheese layer. Use the same bowl to make chocolate pudding, using remainder 2 cups of milk. Beat with hand mixer. Pour over vanilla pudding and smooth. Top with remaining cool whip. Spread until smooth and cool whip covers the whole torte. Wrap it in plastic wrap and refrigerate for at least 1 hour, or overnight.